Setting Up Amazon CloudWatch Agent for Efficient Application Monitoring on AWS

i am a dedicated and enthusiastic professional with a solid year of hands-on experience in crafting efficient and scalable solutions for complex projects in Cloud/devops. i have strong knowledge in DevOps practices and architectural designs, allowing me to seamlessly bridge the gap between development and operations team, I possess excellent writing abilities and can deliver high-quality solutions
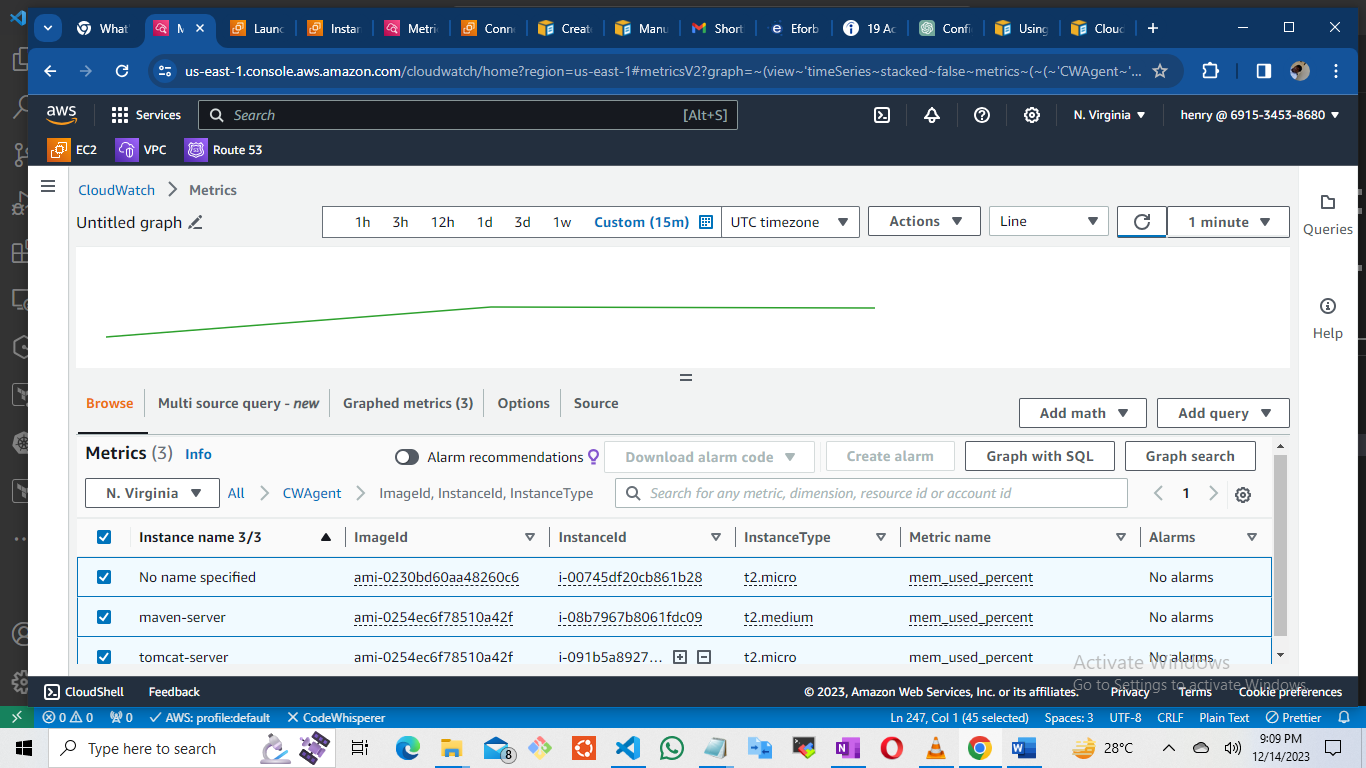
In this blog post, i will guide you through the process of creating and configuring the Amazon Cloud-Watch agent to monitor your applications seamlessly. Follow these steps for a smooth setup:
- Launch an EC2 Instance:
create your ec2 instance using Amazon linux 2
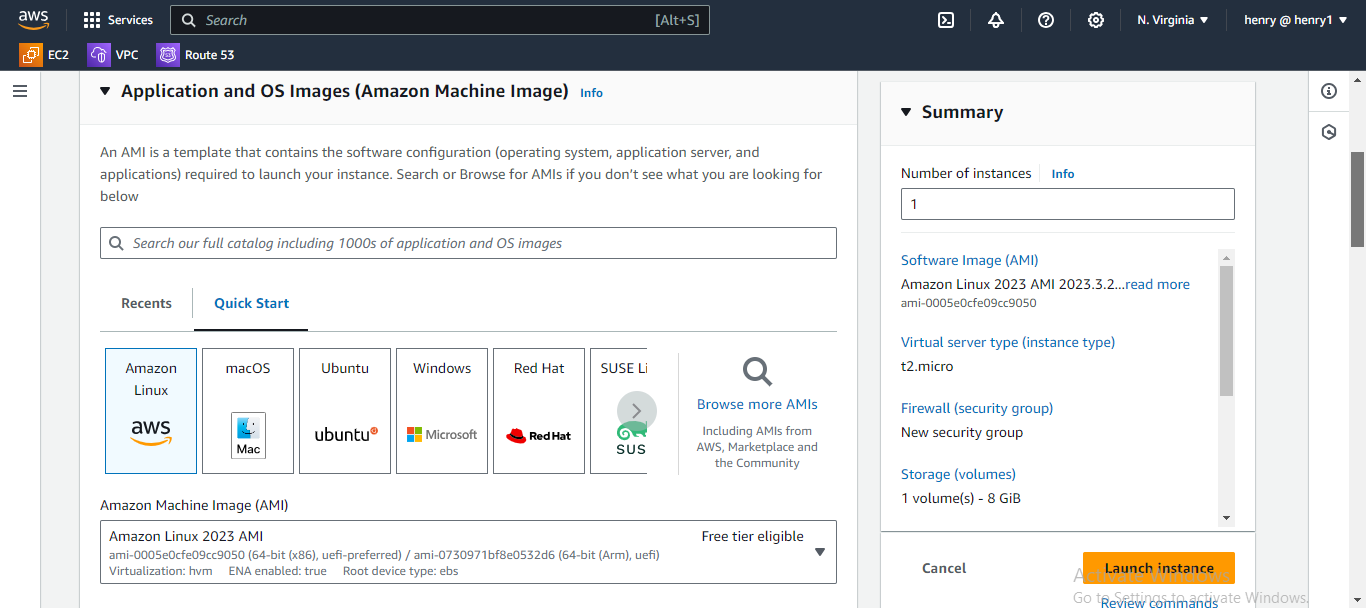
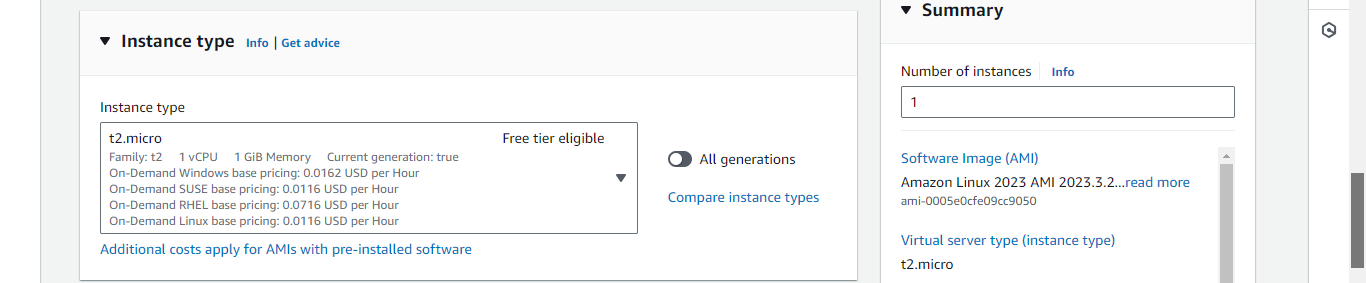
instance type will be t2-micro
create your key-pair to use when you ssh into the instance
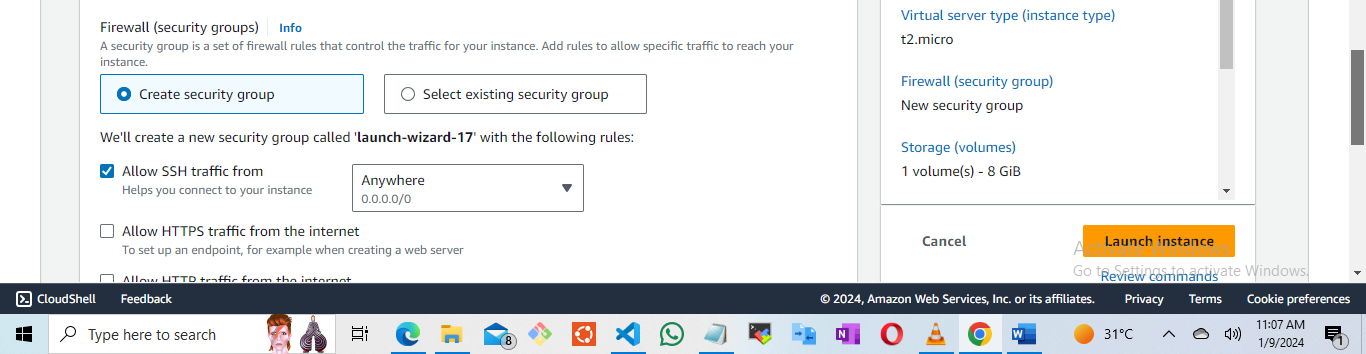
the security group: allow traffic on ports 80 and 22 from anywhere
then launch the instance.
Install necessary packages:
sudo yum install git wget -y
Download and install the CloudWatch agent:
  sudo wget https://amazoncloudwatch-agent.s3.amazonaws.com/amazon_linux/amd64/latest/amazon-cloudwatch-agent.rpm
  sudo rpm -U ./amazon-cloudwatch-agent.rpm
Note: Amazon Linux 2 AMI comes with the AWS SSM agent installed by default.
Install Collectd:
Use Collectd to send metrics to the CloudWatch agent:
sudo yum install collectd -y
Configure CloudWatch Agent:
Run the configuration wizard:
# /opt/aws/amazon-cloudwatch-agent/bin/amazon-cloudwatch-agent-config-wizardthe Cloud-Watch agent configuration file is a JSON file with four sections, agent, metrics, logs, and traces to push custom memory metrics to cloud-watch.
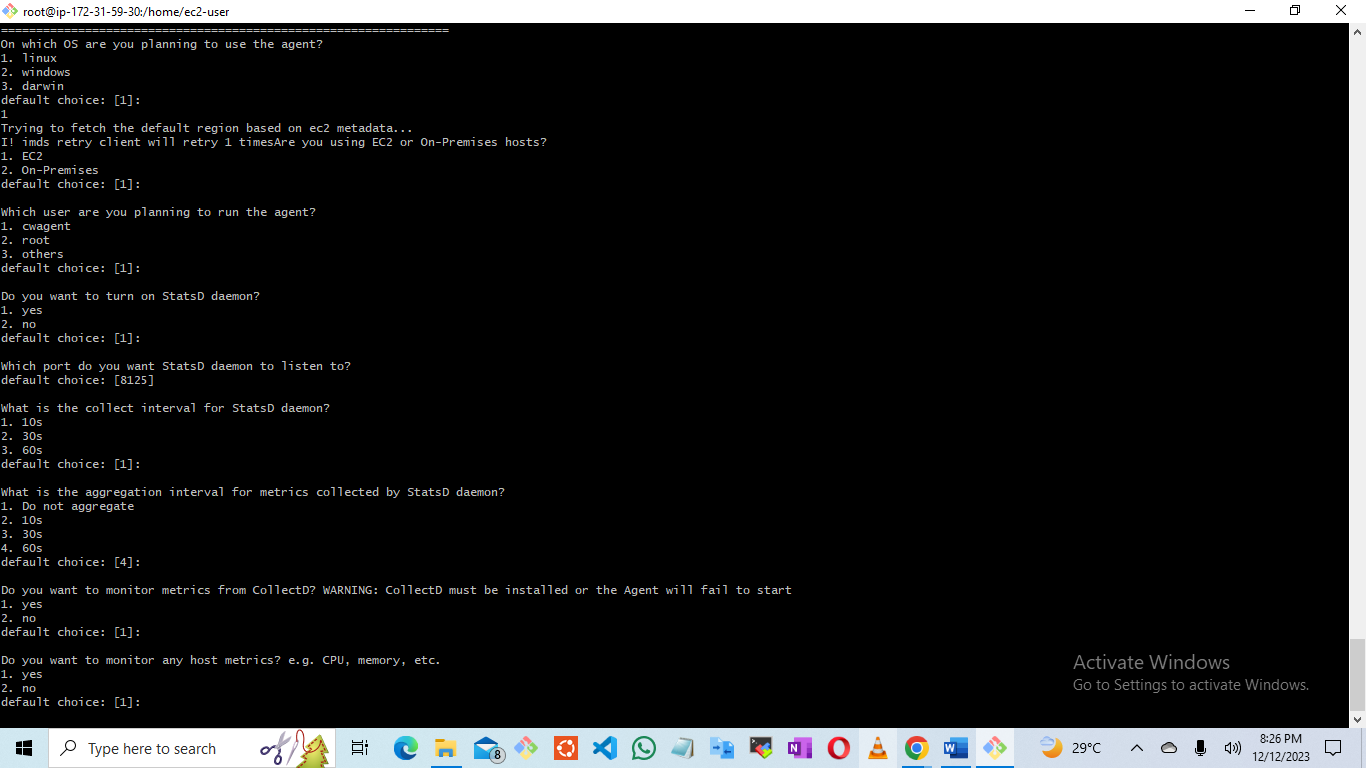
Accept most defaults, especially in the "cw-agent" section.
    Which user are you planning to run the agent?
    1. cwagent
    2. root
    others default choice: [1]:
Specify Metrics and Logs:
Configure custom memory metrics for CloudWatch.
Provide log file paths, and choose whether to monitor additional log files.
  Do you want to specify any additional log files to monitor?
  1. yes
  2. no
  default choice: [1]:
  log file path: /opt/aws/amazon-cloudwatch-agent/bin/
  log group name:
  default choice: [bin]
Choose "no" for the next additional log file:
  Do you want to specify any additional log files to monitor?
  1. yes
  2. no
  default choice: [1]: 2
Add Access Key and Secret Key:
Enter AWS access key and secret key when prompted during configuration.
  default choice: [AmazonCloudWatch-linux]

  Trying to fetch the default region based on ec2 metadata...
  I! imds retry client will retry 1 timesWhich region do you want to store the config in the parameter store?
  default choice: [us-east-1]

  Please provide credentials to upload the json config file to parameter store.
  AWS Access Key:
  #############################
  AWS Secret Key:
  xxxxxxxxxxxxxxxxxxxxxxxxxxxxx
Start CloudWatch Agent:
Start the agent with the configured JSON file:
/opt/aws/amazon-cloudwatch-agent/bin/amazon-cloudwatch-agent-ctl -a fetch-config -m ec2 -c file:/opt/aws/amazon-cloudwatch-agent/bin/config.json
Create IAM Role:
Create an IAM role and attach it to the EC2 instance for proper permissions.
attach this three AWS managed policies to it
i. AmazonSSMFullAccess
ii. CloudWatchAgentServerPolicy
iii. s3 bucket full access
Restart CloudWatch Agent:
Ensure changes take effect:
sudo systemctl restart amazon-cloudwatch-agent
Verify Status:
Confirm the agent is running:
sudo systemctl status amazon-cloudwatch-agent

Create an AMI:
- Create an Amazon Machine Image (AMI) from the instance, naming it "cloud-watch-ami" for future use.
By following these steps, you'll have a robust CloudWatch agent set up, allowing you to efficiently monitor your applications on AWS.